
Vinyl Project Process:
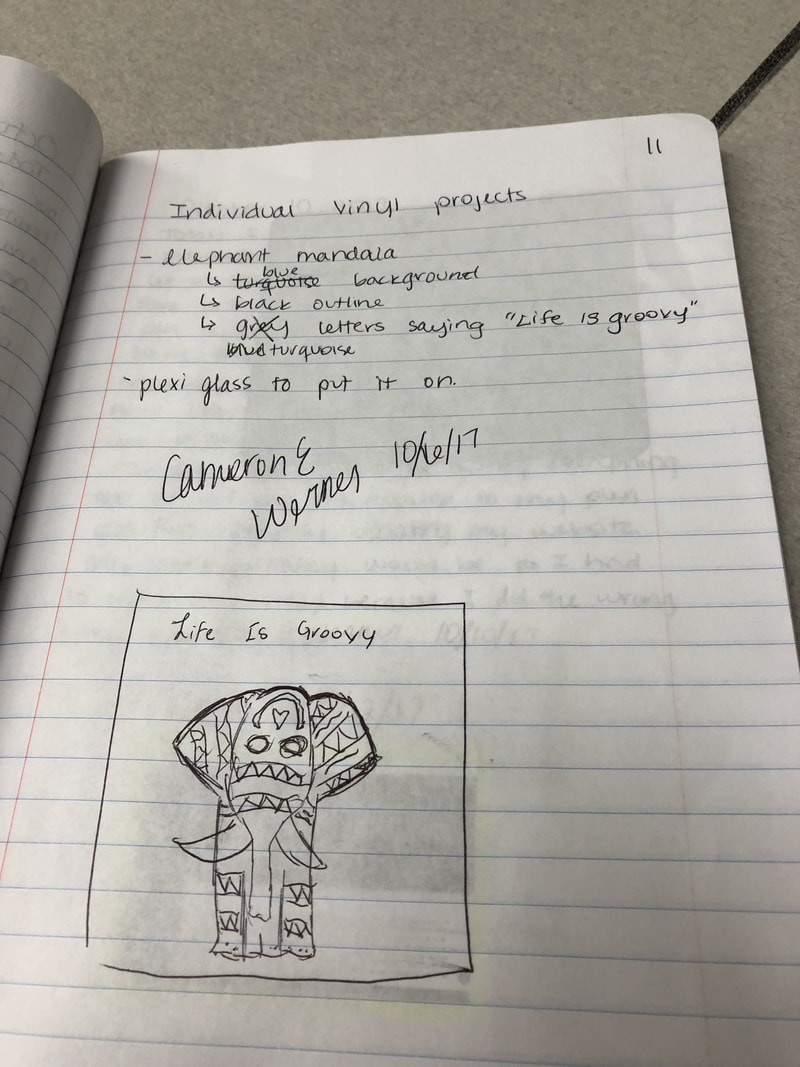
1. Thought of ideas in my designers notebook.
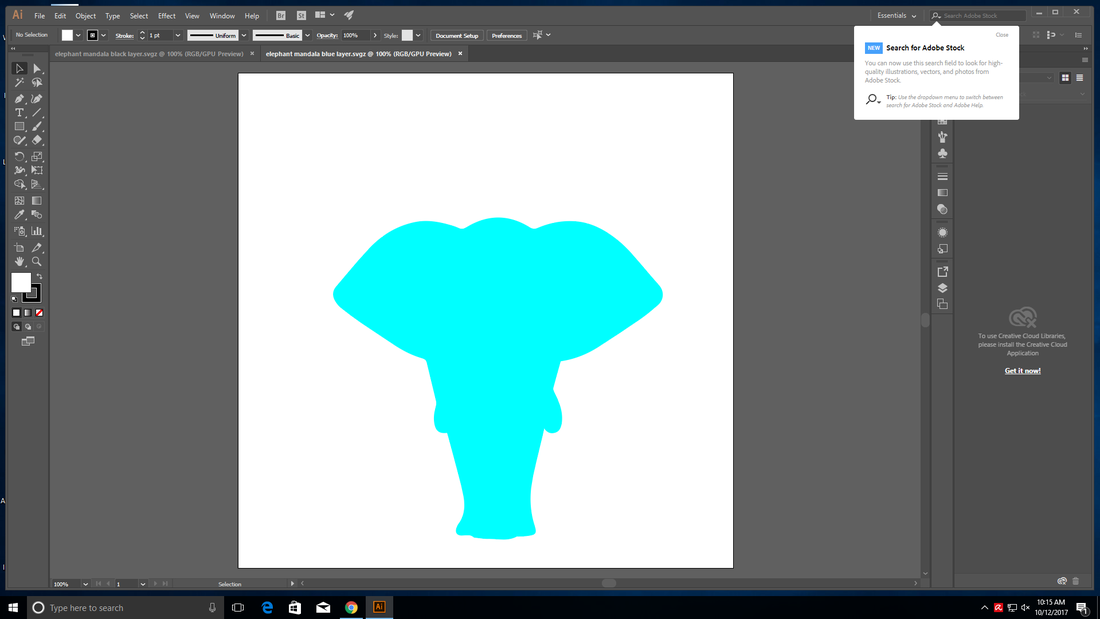
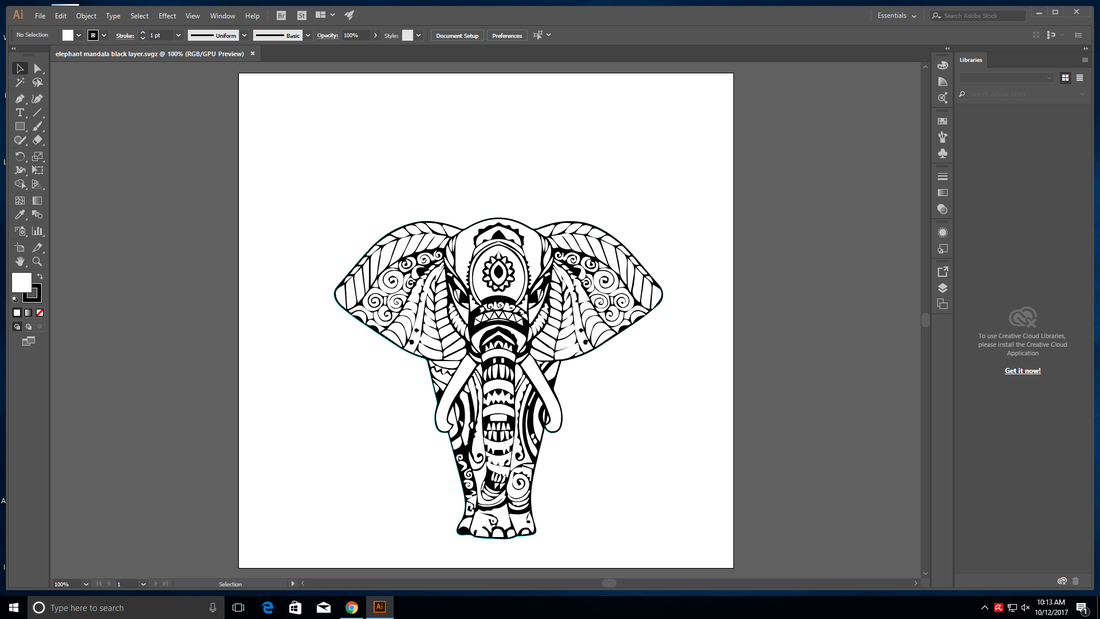
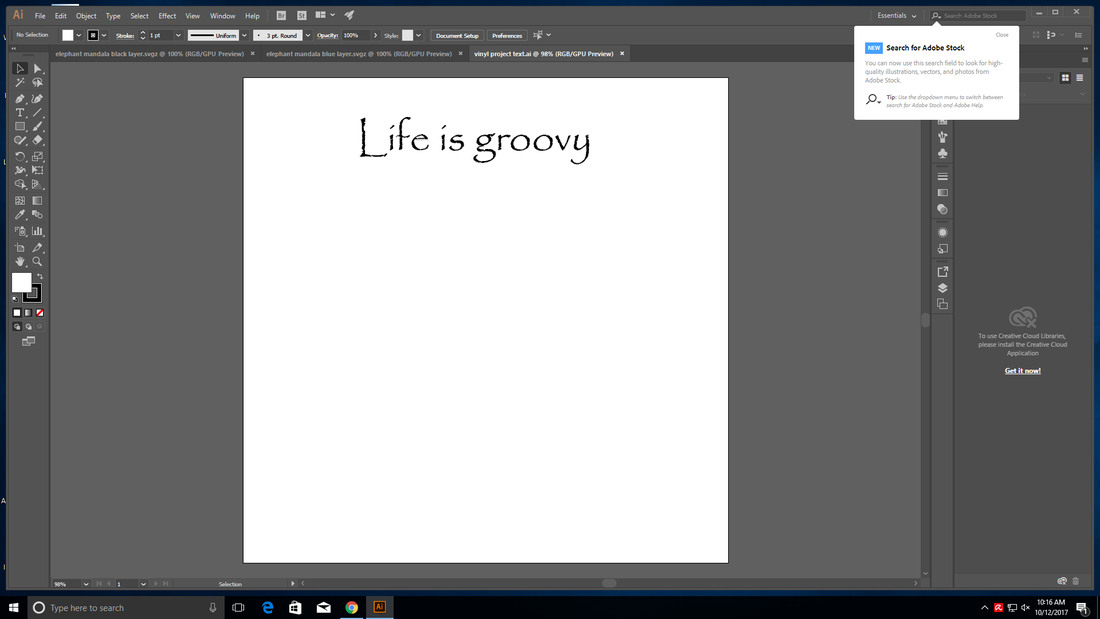
2. I created the files I wanted to use, on illustrator.
|
|
|
3. I printed them out using the vinyl cutter, then applied them piece-by-piece to my piece of plexi-glass.
For exact step by step application steps, see the illustrator page.
For exact step by step application steps, see the illustrator page.
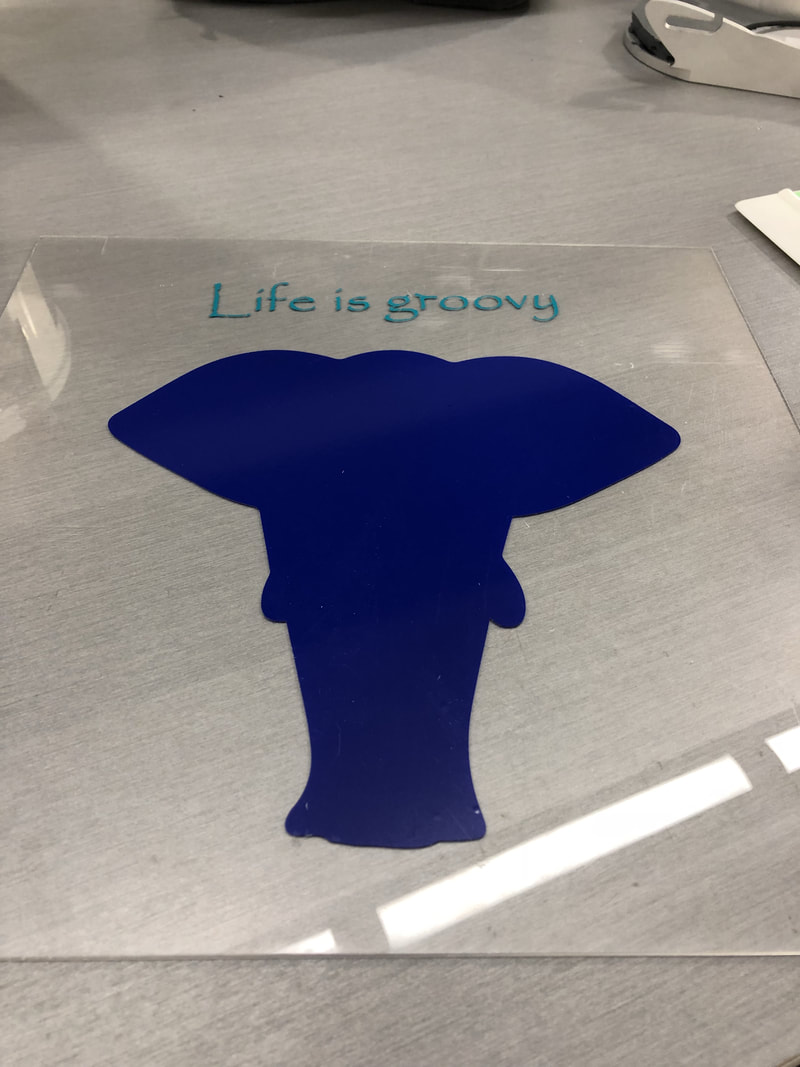
Final Result:

What I learned:
Using the vinyl cutter helped me learn quite a few things about the machine. I learned you have to make sure your picture/design is up to the correct scale when setting it up on the computer for the vinyl. Sometimes when you upload your file to the vinyl system, it changes the size of your file, so you have to make sure you set it to the correct scale. It is beneficial to work slow when your design is complex, like the black layer above. It is also a smart idea to use a dental pick to get the small pieces off of the backing. Patience and accuracy is the key to having a complex design turn out great.
