
process of my 3d Project:
1. Thought out my plans for the project.
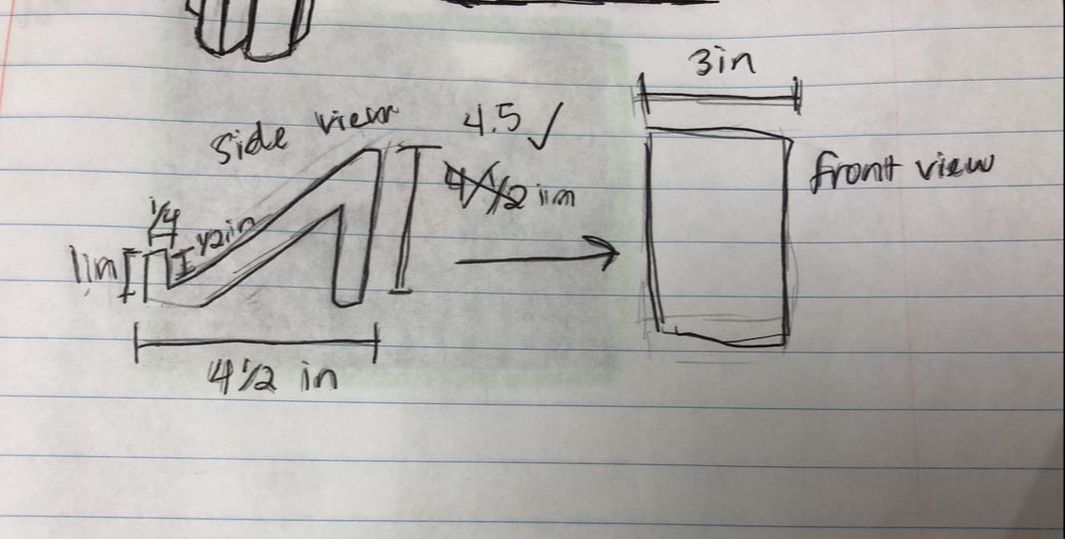
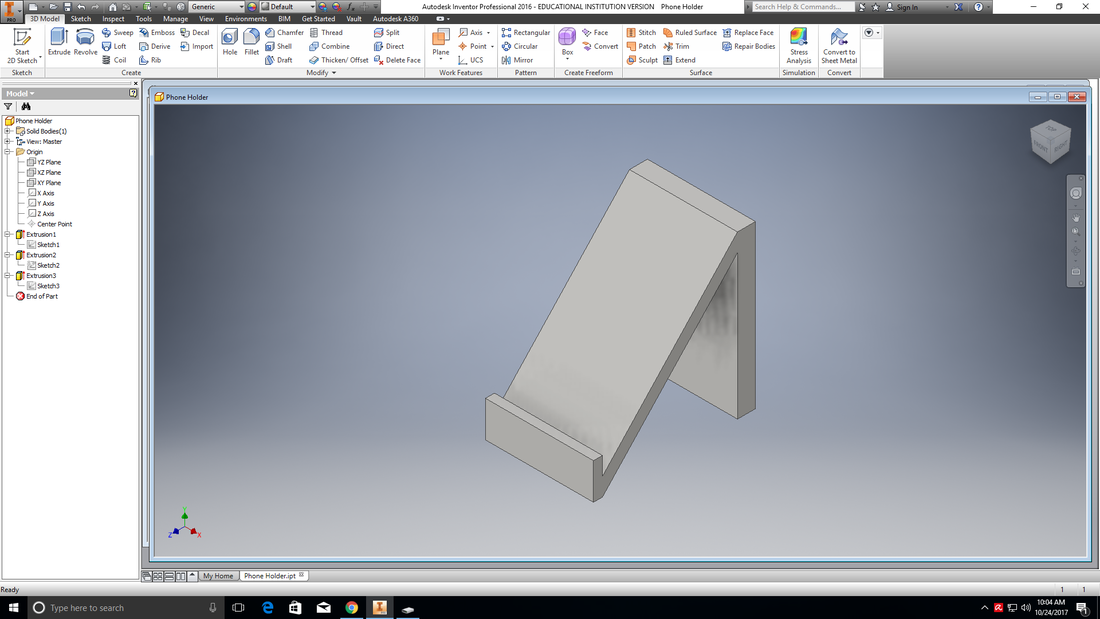
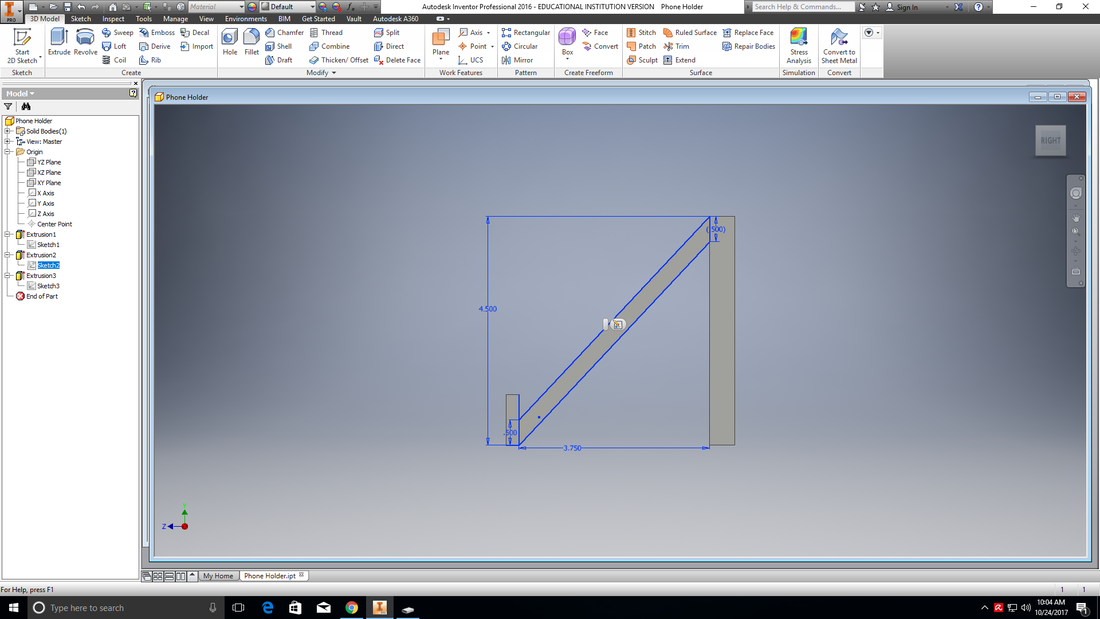
2. Created my project in Inventor.
|
|
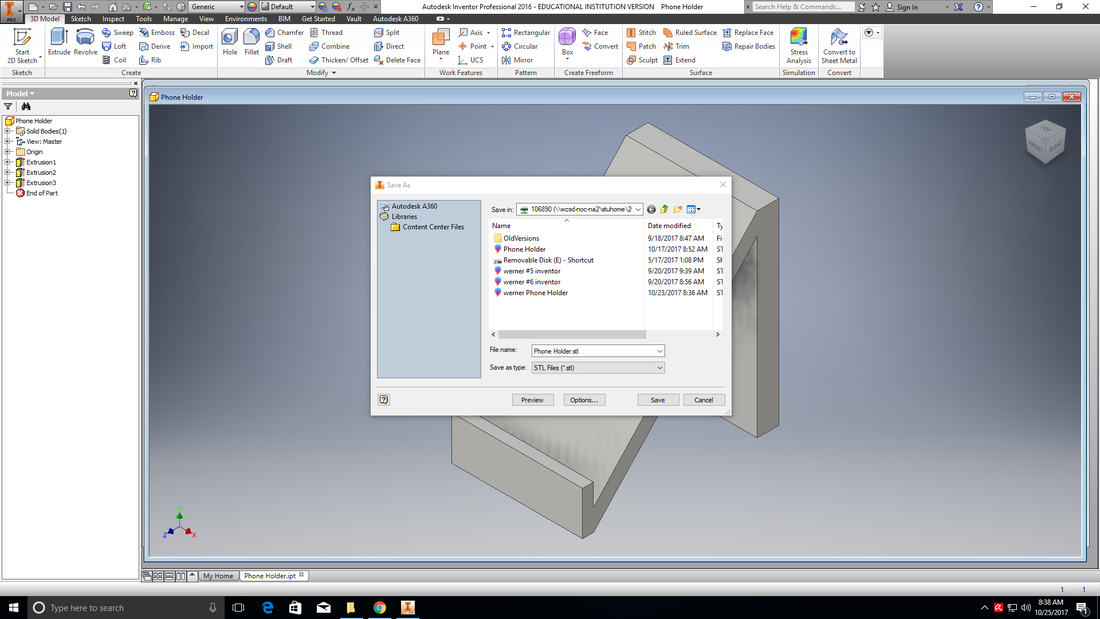
3. Exported in CAD format and saved as STL.
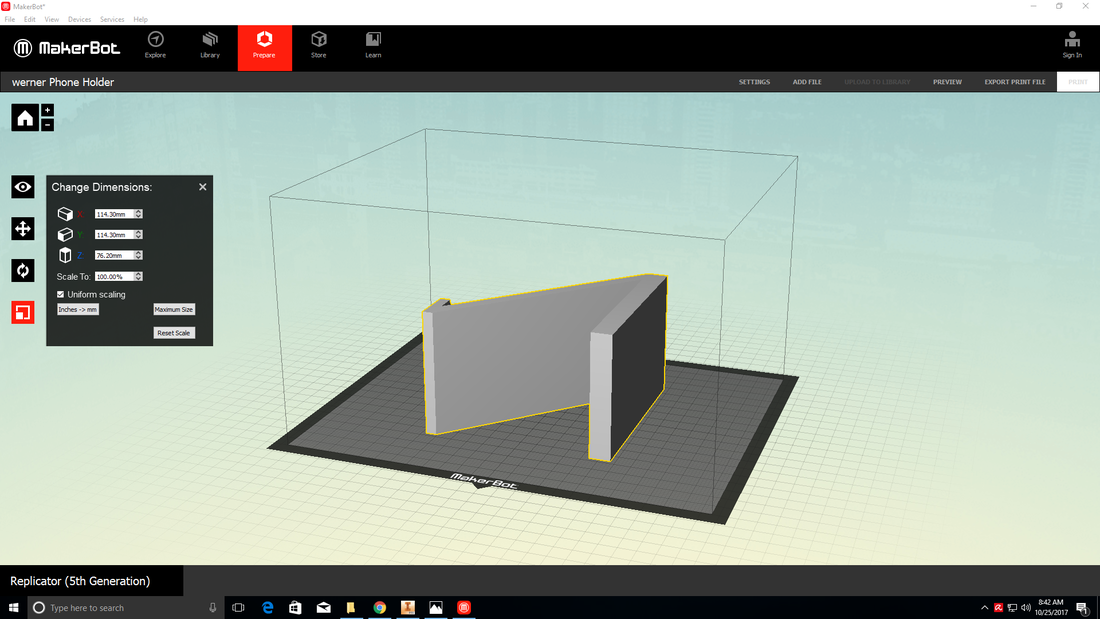
4. Opened in Makerbot and made sure it was scaled correctly.
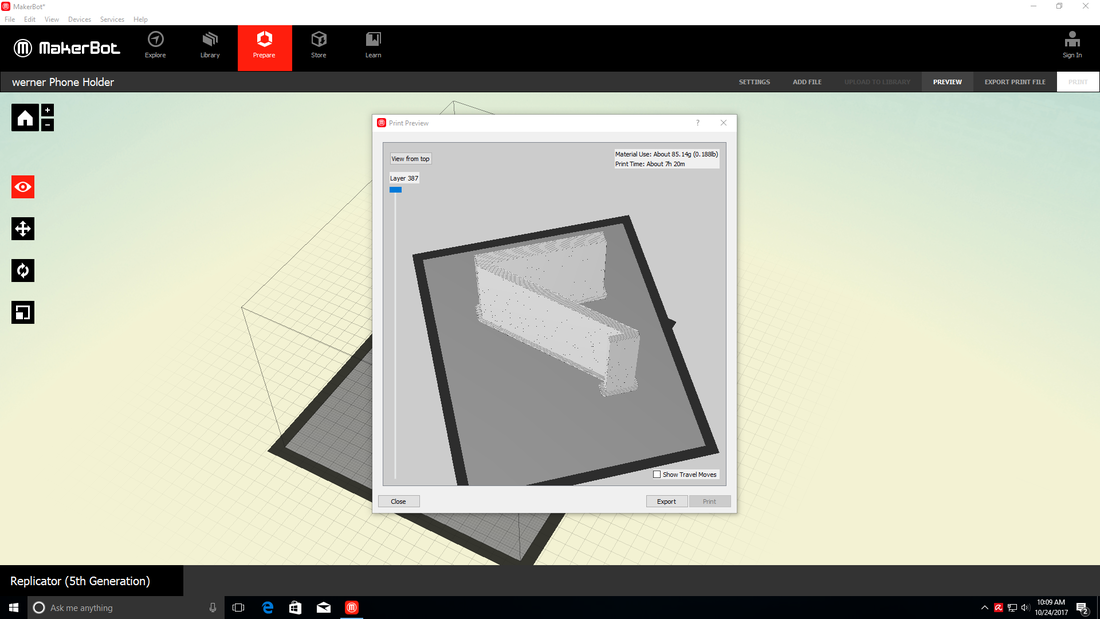
5. Previewed the file and then exported it.
|
|
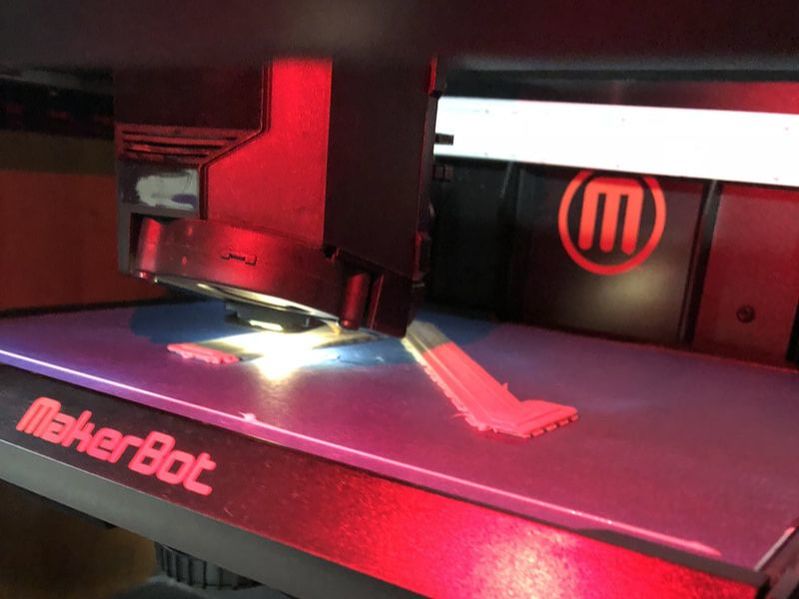
6. Started printing design on 3D printer.
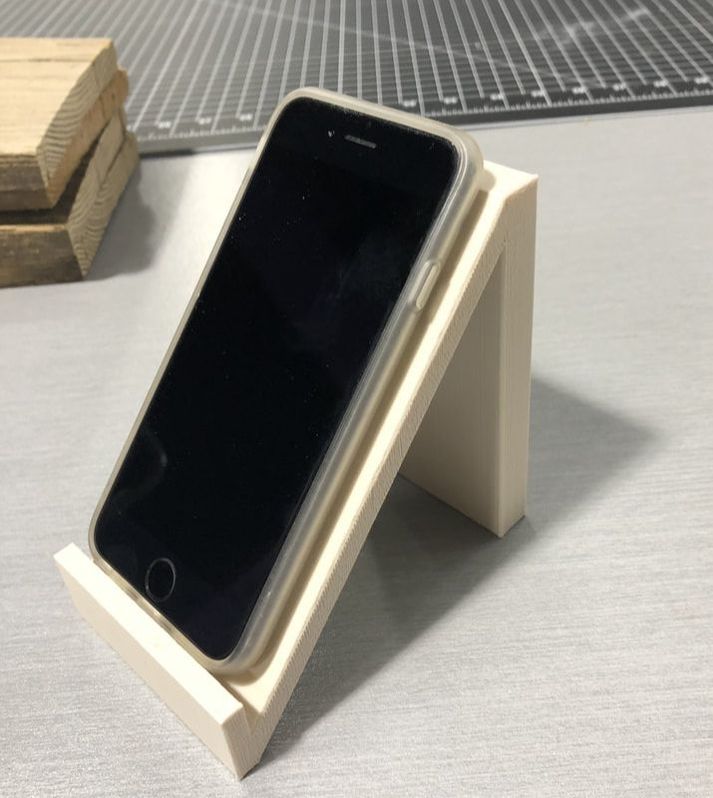
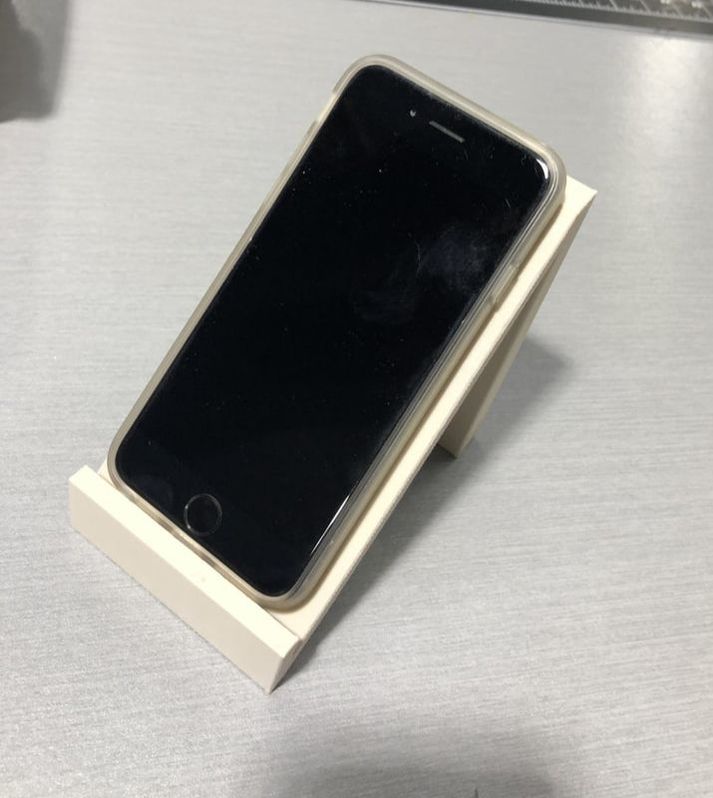
Finished Project:
|
|
What I learned:
I learned that using the 3D printer, we can make test models for products. You have to have the correct dimensions for your project. The larger your project is, the harder it is for the 3D printer to make it. I saw many projects that didn't turn out well or didn't print completely because it was too much for the 3D printer. You should watch the printer until your actual project starts printing. It is beneficial to lay your project on the work-space so there is no material being printed to hang above the other material. This can cause your project to warp or to mess up because the material is hot. Overall the experience on the 3D printer was a lot of fun and I would definitely make more prototypes with it.
